
Designing your own house is one of the most rewarding projects you can take on. A home designed specifically for your lifestyle will almost always perform better than a generic plan purchased online.
After working for more than 20 years as a licensed architect, I’ve seen both well-planned homes and homes that created years of frustration for their owners. The difference usually comes down to how the design process begins.
Good residential design isn’t about drawing walls first. It’s about understanding how people live, how a site works, and how construction actually happens.
This guide walks through the same early design steps that architects use when planning a custom home and how to design your own house.
Step 1: Start With Your Lifestyle, Not the Floor Plan
Before sketching a single wall, define how the house needs to function.
Ask yourself questions like:
- How many people will live in the home?
- Do you work from home?
- Do you entertain often?
- Do you need future flexibility for aging in place?
- Do you want open spaces or more defined rooms?
A common mistake I see is homeowners jumping directly into floor plan drawings. When that happens, the design is often driven by room shapes rather than lifestyle needs.
Instead, start with a list of priorities.
Example:
Must Have
- 3 bedrooms
- home office
- attached garage
Nice to Have
- large pantry
- mudroom
- outdoor living space
This list becomes the foundation for the entire design.
Step 2: Understand the Building Site
The property plays a major role in shaping a home’s design.
A good house on the wrong site orientation can feel dark, inefficient, and disconnected from its surroundings.
Key site factors include:
Sun Orientation
Southern exposure typically provides the best natural light in colder climates.
Views
Position living spaces toward desirable views.
Slope and Topography
Sloped sites may allow for walk-out basements or split-level designs.
Access and Driveway Location
Garage placement and entry sequence should feel natural when arriving home.
Professional architects almost always perform a site analysis before beginning design work.
Step 3: Create a Bubble Diagram
The first real design step usually isn’t a floor plan.
It’s something architects call a bubble diagram.
Instead of walls and dimensions, this diagram shows relationships between spaces.
Example bubbles might include:
- kitchen
- living room
- dining area
- bedrooms
- bathrooms
- garage
The goal is to determine how spaces connect.
For example:
Kitchen → Dining → Living Room
Mudroom → Garage → Kitchen
This simple exercise prevents awkward layouts later.
Step 4: Develop a Rough Floor Plan
Once space relationships are clear, you can begin drawing a rough floor plan.
At this stage, focus on:
- room arrangement
- circulation paths
- general proportions
Avoid getting stuck on exact dimensions too early.
A good rough plan should allow you to visualize how people move through the house.
Key questions to ask:
- Is the kitchen easily accessible from the garage?
- Do bedrooms have privacy from public spaces?
- Are hallways minimized?
Good circulation makes a home feel natural and comfortable.
Step 5: Size Rooms Appropriately
One of the biggest design challenges is getting room sizes right.
Rooms that are too large waste space and increase construction costs.
Rooms that are too small become frustrating to live in.
Typical room sizes might include:
Living Room
200–400 sq ft
Primary Bedroom
180–300 sq ft
Secondary Bedrooms
120–180 sq ft
Kitchen
150–250 sq ft
These ranges help keep the home balanced.
Furniture layout should also guide room dimensions. Always test layouts for beds, sofas, and dining tables before finalizing a design.
Step 6: Consider Structure Early
A beautiful design still needs to be structurally practical.
In my experience reviewing many residential projects, one of the most common mistakes is ignoring structure until late in the design process.
Early structural considerations include:
- load-bearing wall locations
- beam spans
- column placement
- foundation layout
Simpler structures are usually more affordable to build and easier for contractors to execute.
When structure and architecture work together, construction becomes far smoother.
Step 7: Create a Scaled Drawing
Once the layout works conceptually, it’s time to convert the plan into a scaled drawing.
Common tools include:
- graph paper
- CAD drafting programs
- BIM software like Autodesk Revit
A scaled plan typically uses dimensions such as:
¼ inch = 1 foot
At this stage the design begins to resemble real construction drawings.
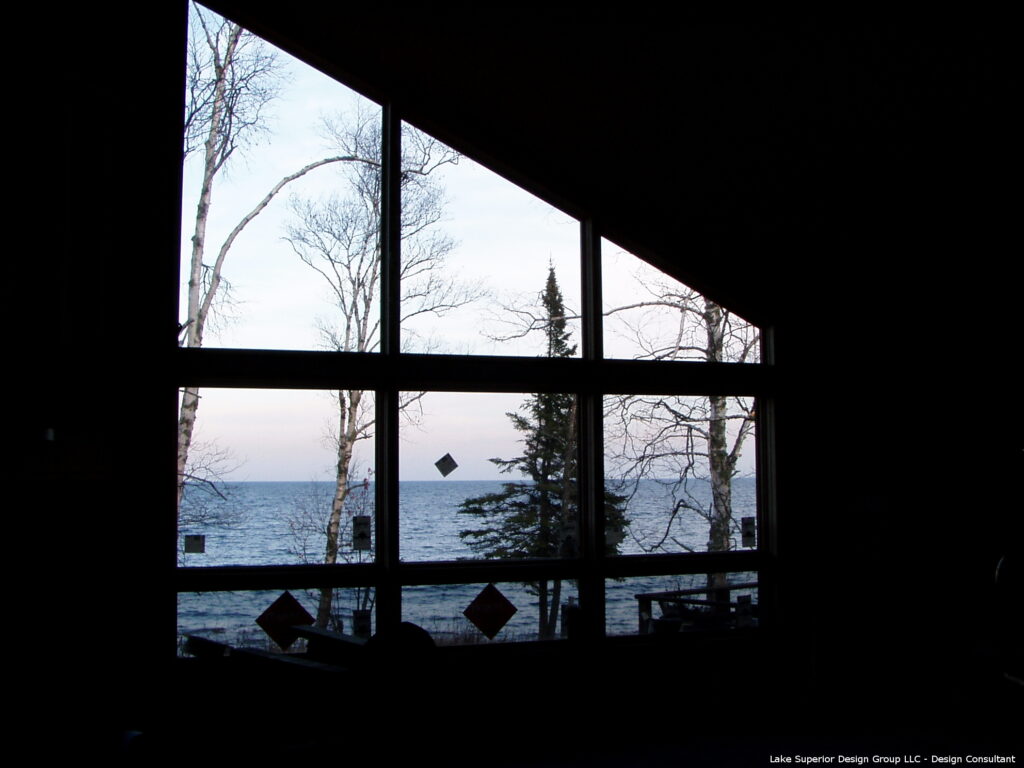
Step 8: Evaluate Natural Light
Light plays a huge role in how a home feels.
Some key principles include:
- larger windows in living spaces
- smaller windows in bedrooms for privacy
- southern light for main living areas when possible
Daylight improves comfort, reduces energy usage, and makes interiors feel more spacious.
Many successful home designs are built around capturing natural light.
Step 9: Plan for Storage
Storage is often underestimated during early design.
Smart storage planning includes:
- pantry space near the kitchen
- closets in entry areas
- linen storage near bathrooms
- garage storage zones
Homes that lack adequate storage often feel cluttered even when they are relatively large.
Thoughtful storage design improves everyday usability.
Step 10: Refine and Iterate
Even experienced architects rarely get a design perfect on the first attempt.
Design is an iterative process.
Review the plan multiple times and ask:
- Are circulation paths efficient?
- Does the layout feel balanced?
- Are private and public areas separated appropriately?
- Is the design structurally practical?
Small adjustments can significantly improve how a house performs.
Final Thoughts
Designing your own house can be an incredibly rewarding process. With thoughtful planning and a structured approach, homeowners can create spaces tailored specifically to their lifestyle.
After two decades in architecture, the most successful homes I’ve seen all share one thing in common: the design process was approached carefully and methodically.
Take your time during these early stages. A well-planned design will make every step that follows—engineering, permitting, and construction—far smoother.
The goal isn’t just to design a house.
It’s to design a home that works beautifully for the people living in it.
Budget is one of the most important parts of designing a house. If you’re unsure where to start, you can read my breakdown of how much it costs to build a house.
3 thoughts on “How to Design Your Own House: A Step-by-Step Guide from a Licensed Architect (20 Years of Experience)”
Comments are closed.